
 |
| "WHAT TO DO WITH THE ENDS" |

Now you need to decide if you are going to wrap the ends. You don't have to, of course, they look just fine as they are. And they look fine if you bind them into a book . . . .


But, for this book we are going to wrap them. And you have a lot of choices. You could use all sorts of hand-made art papers, or paper from the scrapbooking section of the art store, or heavy wrapping paper, or even plain brown Kraft paper. I have used paper I made in a papermaking class . . .


. . . and Washi paper (Origami paper) . . .


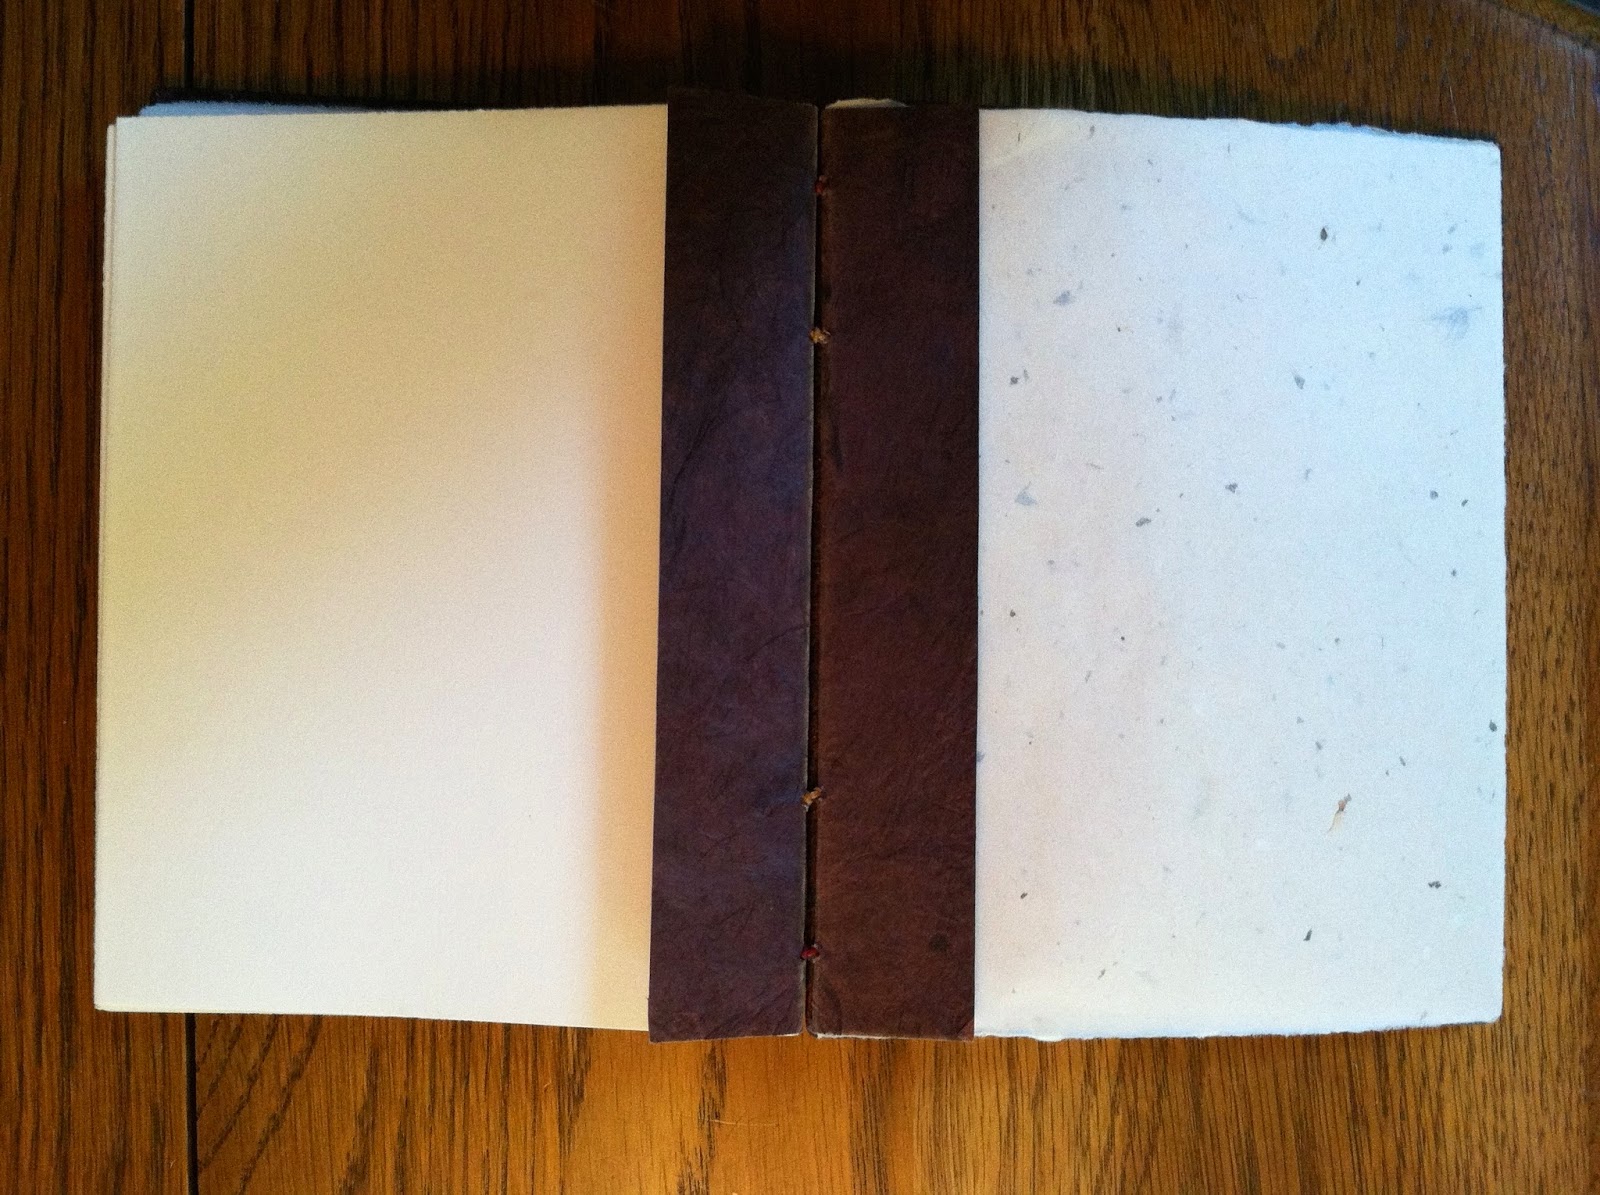
. . . or my favorite, Lokta paper from Nepal. It is colorful, strong, fibery and wonderful . . .


At this point you also need to make a stitching template from a piece of heavy paper. It needs to also be just exactly as long as your pages. Fold it in half, then about 3/4" from each end, place a mark in the fold. Place two more marks evenly spaced, in the fold. You should have 4 marks. Also, be sure to mark the TOP of the template in the upper right hand corner.

Now find yourself an old phone book. Open it to the center and drop the folded wrapper for signature one into the fold.


Now drop the template into the signature and make very sure everything is lined up perfectly and all the arrows are pointing in the right direction.

Use the needle-pointed awl to punch holes through the template, the signature and the end wrapper. Be very sure the template and the signature are aligned. Check the mark you put on the upper right corner on the outside! Repeat this for all of your signatures. Be sure to restack them in order.

Check to be sure all the awl holes are perfectly aligned. If they aren't you have a signature flipped! When you start to sew the book, it will be all crookedy. Not good! Put your signatures back under your stack of books to keep them from getting knocked off your work table by the cats.
Now would be a good time to prepare your thread. You need two pieces, one of each color you've chosen. Each piece needs to be as long as one signature spine, times the number of signatures, plus two. If you are using Perle Cotton, run each piece of thread through the wax 3 or 4 times. If you are using pre-waxed linen thread, of course, this is not necessary. Thread a needle onto each of the four ends.

You will have two pieces of thread and four needles. If you need to, check back to the first post for suggestions on thread.
We are ready to move on to making the cover next.
all crookedy... lol! you are such a great teacher!
ReplyDeletePhone books… oh dear, haven't had one in ages, maybe I can snag on at work. I'm loving this tutorial.
ReplyDelete