
 |
| "UNDER THE COVERS - THINGS ARE GETTING COMPLICATED NOW" |


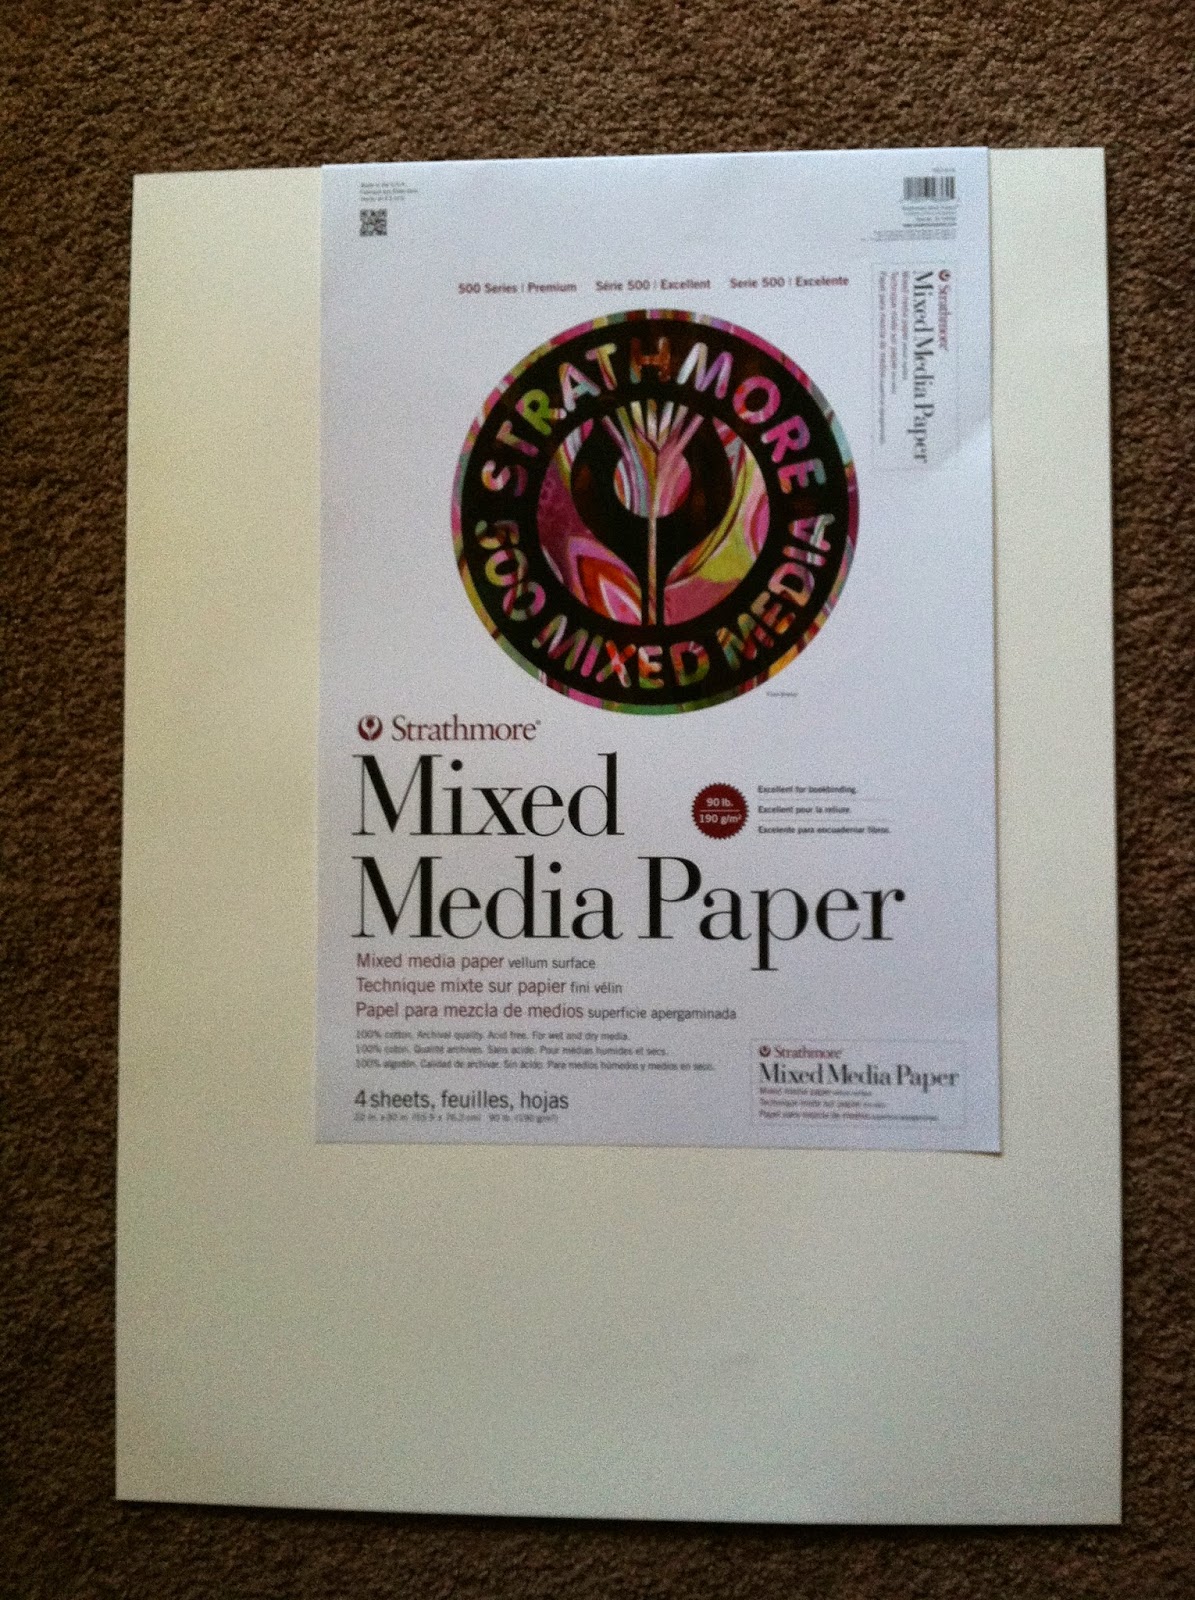
When my shipment of Strathmore Mixed Media paper arrived from Dick Blick and I got it open, I realized it was like a compact little bookmaking kit - inside was the paper, of course, but also a great fibreboard that was nearly (but not quite) perfect to use as the cover material, a piece of thin cardstock, and wrapper plastic to use as glue shields! All that was lacking was the cover material itself, and glue! Such a deal!

And now I need to say something about choosing the material for the cover bookboards. I chose the one above because it was availabe and free. However, if you need to make a purchase, what you are going to look for is TAG BOARD, POSTER BOARD or RAILROAD BOARD, preferably with the slick clay coating. Please try to get 4 ply or 6 ply. 2 is too thin. You should be able to make your purchase at a hobby, craft or art store. Even grocery stores and hardware stores carry some form of poster board (but it is often the thin 2 ply grade.) The material should be like HEAVY cereal box or clothing box weight.
So, how big is the cover going to be?


Stack the signatures as precisely as you can and measure them across their widest and longest edges. If those edges are clean cut this should be easy. If, as mine are, the edges are deckled, allow for the longest or widest deckle piece sticking out. Because I lost some paper to the deckling process, my measurements are 5 1/2" by 7 1/2". Yours will likely be different. That is fine.
For the actual measurements of the cover we are going to add about 1/8" to the side opposite the spine, and 1/8" each at the top and bottom.

This is the template I cut for the exact measurement of the cover. Notice (another bonus) I used the insert that came with the packet of paper. I am an ex-art teacher. We save and re-use anything that can even remotely be considered art supplies! Waste not, want not, that is the art teacher's mantra.
Anyway, here is the layout.

DUPLICATE THE SIZE TEMPLATE, MARK THE INSIDES AND THE OUTSIDES AND THE FOLD LINES. THEN CUT APART.
Be very careful here. Check your work. I just flipped my cut lines with my fold lines and ended up with a very nice set of covers in LANDSCAPE orientation for a future book. 
Cut out your two covers ON THE CUTTING LINES, and fold them on the FOLD LINES. Keep the writing on the outside of the covers for easy reference (Yes. The writing on the back cover is upside down. Don't worry about it). Hopefully you end up with two covers in PORTRAIT orientation. Stack everything up nice and neat to be sure you are headed in the right direction.
*A note here about the big blue rubber band with the clip on it. The next time you go have blood drawn, ask the phlebotomist for the nice, big, blue rubber band they just used on your arm. And for a couple more from the trash, while you're at it. Best art helpers EVAH! Remember, waste not, want not.


Use an old credit card, a bristle brush or foam brush to spread your PVA glue inside the glue area in the centers of the covers. Gently lay the pieces of batting on the glue, but don't press them down. Pat them a bit, maybe, but don't press (we don't want to lose that little bit of loft!)
Let the glue dry completely. For the next couple of hours, or overnight, just relax, think about your fabrics and how you will put them together, touch them, fondle them, play with your sparkly trims, and tomorrow we will start putting them all together. 'later!!
(this is starting to get tricky. I hope I haven't lost anybody. If you have a question, raise your hand. I will get 'round to you!)
(this is starting to get tricky. I hope I haven't lost anybody. If you have a question, raise your hand. I will get 'round to you!)
No comments:
Post a Comment