

We can try to make this book (or one like it) together. I don't know if this format will work, but we can try it out.
I am looking for the first things that I know you will need for sure. I have included screenshots of the products so that you can get a running head start on ordering them, if you need to. I will update the post in a week. That way any of you who are ordering things should have them by then.
This is a list of the things THAT I USED. You don't have to use them. Use anything that you think might work instead, BUT, I won't know how to tell you how to deal with what happens as you use them, because they are not what I used. Fair?
PAPER - I use only Hot Press paper for my sketchbooks because I like how it works FOR ME. It takes pen perfectly without bleeding, paint doesn't show through, it lays flat, and stands up well to scrubbing, etc. You get 4 sheets in this package and 2 sheets make a nice book. So, one package = 2 books. From http://www.dickblick.com

GLUE - You need to order some good glue, if you don't already have it. This glue is for bookbinding, has particular properties that work well with all bookbinding techniques. It is PVA and archival (books you make with it will outlive you). And it won't discolor or crack. I got the 16oz bottle and have only used half of it so far.

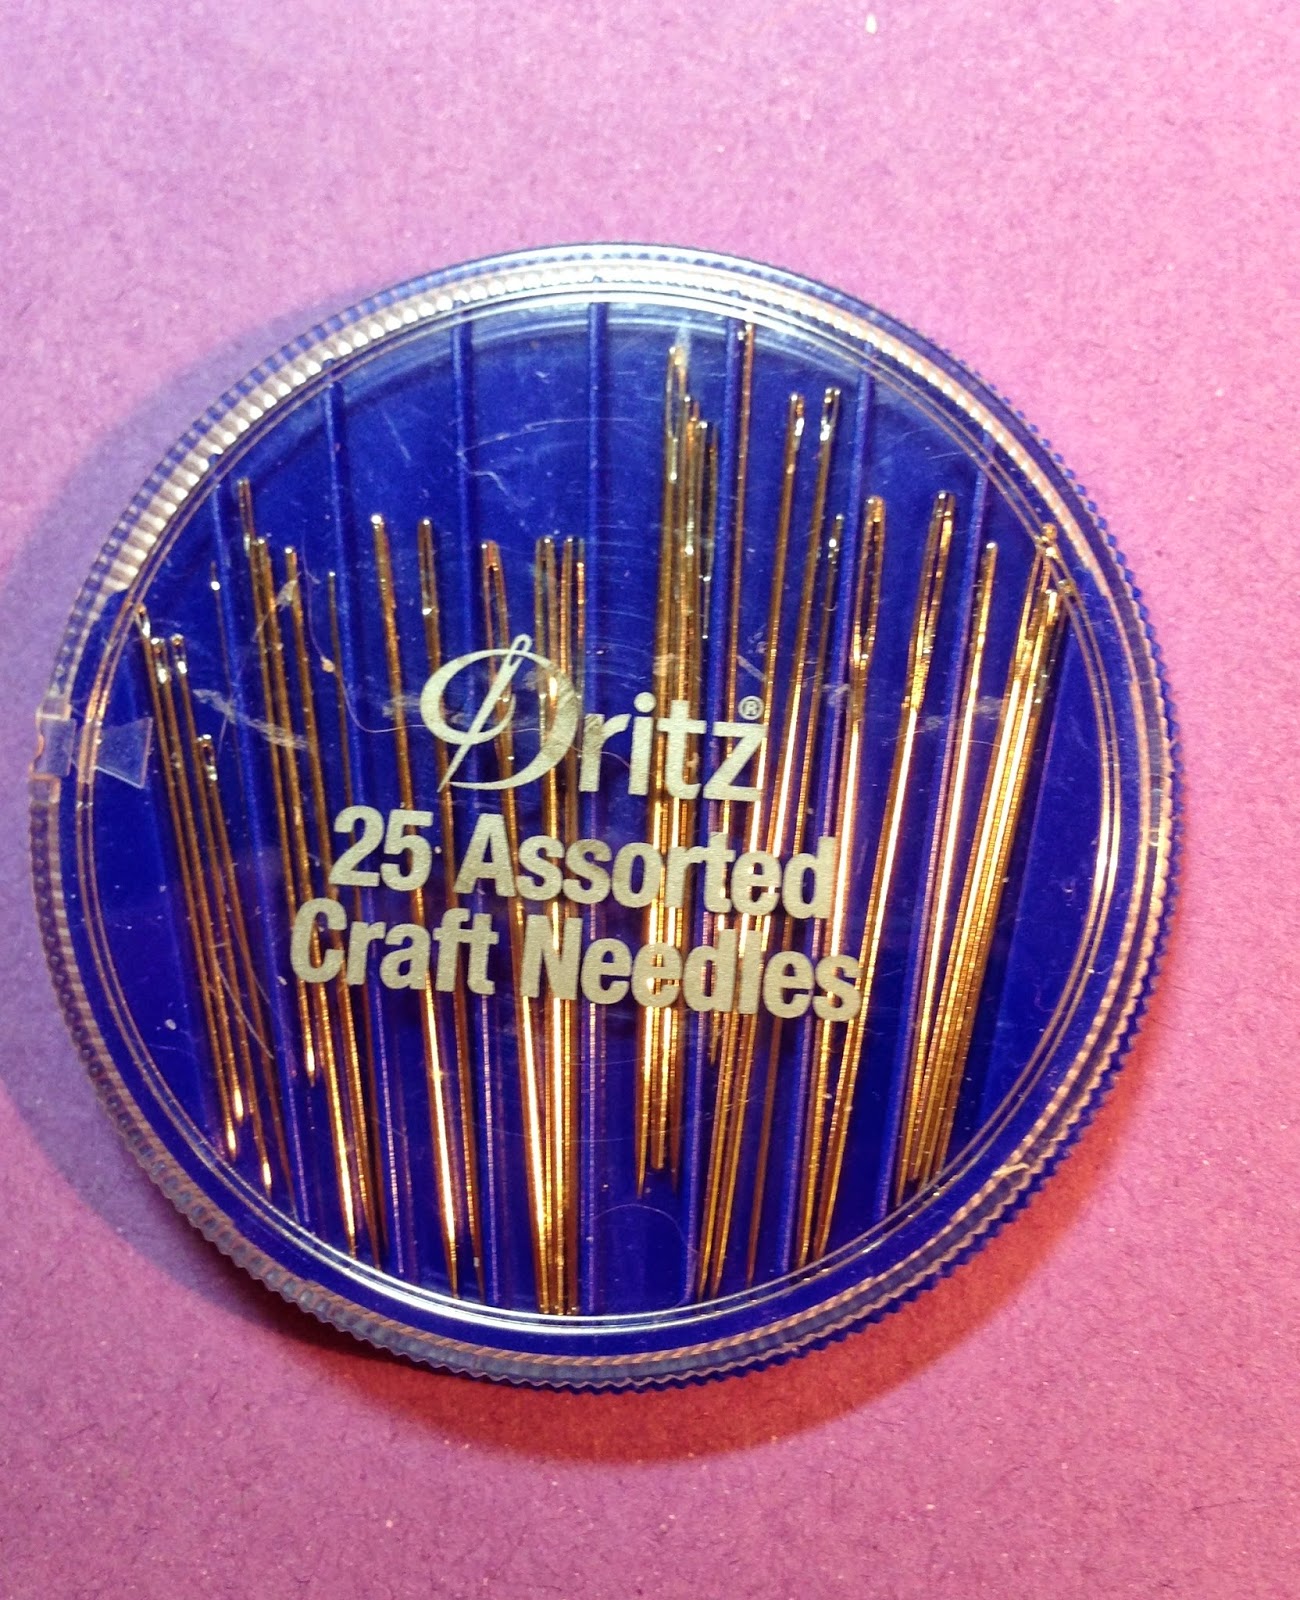
AWL - Get a FINE needle size (so the holes you make aren't too big.

THE PAPER THE GLUE AND THE AWL ARE ALL FROM DICK BLICKhttp://www.dickblick.com
COVER MATERIAL - You will also need, very soon, some fabric and some micro-batting. Unfortunately, the fabric I used came from The Fabric Gypsy who only sells at fabric shows and from her own showroom in New Mexico. She does not do website orders. Sad, but true. You can, of course, hit your own stash up for gorgeous fabric to use for your cover, or you might check out the Asian Fabric section of eQuilter.com for some.

These are pretty, aren't they?


PADDING BATTING - My ultra-thin batting for padding the covers came from Amazon.com

 BINDING THREAD - Eventually we are going to sew, so you might as well start gathering up stuff for that, too. You can get wonderful Irish Linen bookbinding thread, if you can find it. But it is expensive. I have found that good old DMC Perle Cotton, the kind you can find in any sewing or craft store, works great! And it comes in a zillion colors. Just get size 3, and you are all set. For our Four Needle Coptic binding we will need TWO colors that coordinate or contrast with the cover fabric.
You also need a stick of beeswax, which you can get at the craft store, or at the hardware store.

You also need needles. These that come from the craft or hobby store work just fine. You will need FOUR of them, and they need to have very large eyes.

BONEFOLDER - For what we are going to do you don't even need a bonefolder, although it is nice to have one. For the paper folding and tearing we are going to do, you can get by very nicely with a heavy, throw-away plastic spoon (we'll use the back of it) and a plastic knife with sharp, serrated teeth. This is a very useful tool, and, because you use it a LOT, it will wear out. So snag a couple when you find them!


The last thing you need to get started is some lightweight cardboard. It can be tag board, or poster board, or even heavy cereal box cardboard. You could even take apart a large shoebox and use that. We don't want anything as thick and stiff as corrugated cardboard, though.
I also wrapped the end of my signatures in decorative paper. You don't have to do that at all. It is totally optional. It may be hard to find paper that works for you so don't feel you have to do it. My Casey's Crafts store, here on Whidbey Island, happens to stock a very wonderful line of (believe it or not!) computer printer paper that is fantastic! It is made from Lokta Paper from Nepal, in a variety of colors, 8 1/2" x 11". Because it is printer paper it is very uniform and strong, but is also fiber-y and has a lot of character. The purple paper in the photos is a sheet of it. You can find it online from a variety of sources, or you might want to see if you can find it in a store that stocks papers for the printer.
I think that might be all we need to start. Once you have the paper for the pages in hand, and the needle, thread, wax and serrated knife we can begin the making of the signatures. I will wait here for you to get the supplies you need, and when you rejoin me, we will start in.
I think it will work to leave questions here, and I will try to answer them as I get to them.
ReplyDeleteLove this! Judi, when you get to Mount Vernon or I venture to Whidbey we will have to meet up.
ReplyDeleteOne question for you... Could you go back into Blogspot and add a gizmo to your blog so that people can follow you via email? The posts can then be sent email every time you make a new entry. Makes it easy to see what you post. Some of us get so busy we never remember to go back to our favorite blogs! I did it on mine and it was easy. Just an idea because I'd like to subscribe!
I hope I have the right "gizmos" in place now. If not, please let me know. I really have no idea how to do this right, so I am just flailing around . . .
DeleteOmg. Saw this on Facebook. It is so awesome.
ReplyDeleteDo we need a special paper/board for the covers?
ReplyDeleteJanet, read alll the way down to the end of the first post. I really don't think you are going to have to get anything special. We are going to try to make do with what we can easily procure. If you ordered the paper I suggested it came with (BONUS) paperboard that works perfectly!
Delete